
The John Deere L120 wiring diagram is a detailed guide for understanding and repairing the electrical system of your lawn tractor. It provides a visual representation of wire connections, fuses, and components, helping DIY enthusiasts troubleshoot and maintain their equipment effectively. This essential resource ensures safety and efficiency when addressing electrical issues or performing routine maintenance.
Overview of the John Deere L120 Lawn Tractor
The John Deere L120 is a reliable lawn tractor designed for residential use, offering durability and performance for yard maintenance. Part of the L100 series, it features a robust engine, automatic transmission, and a versatile 42-inch cutting deck. Equipped with a comfortable operating system, it ensures efficient mowing and towing capabilities. Optional attachments like snow blowers and tillers enhance its functionality. The L120 is a popular choice for homeowners seeking a dependable and versatile lawn tractor, making it a valuable investment for outdoor tasks.
Importance of a Wiring Diagram for DIY Repairs
A wiring diagram is crucial for DIY repairs on the John Deere L120, providing a clear map of the electrical system. It helps identify wire connections, fuses, and components, ensuring accurate troubleshooting. Without it, diagnosing issues like blown fuses or faulty sensors becomes challenging. The diagram enhances safety by guiding users to disconnect the battery before repairs. It also saves time and reduces errors, making it an indispensable tool for maintaining and repairing the tractor effectively. Regular use of the wiring diagram ensures optimal performance and extends the tractor’s lifespan.
Understanding the John Deere L120 Wiring Diagram
The John Deere L120 wiring diagram is a detailed visual guide that simplifies understanding the tractor’s electrical system, including symbols, components, and connections, aiding in repairs and maintenance.
Symbols and Components Used in the Diagram
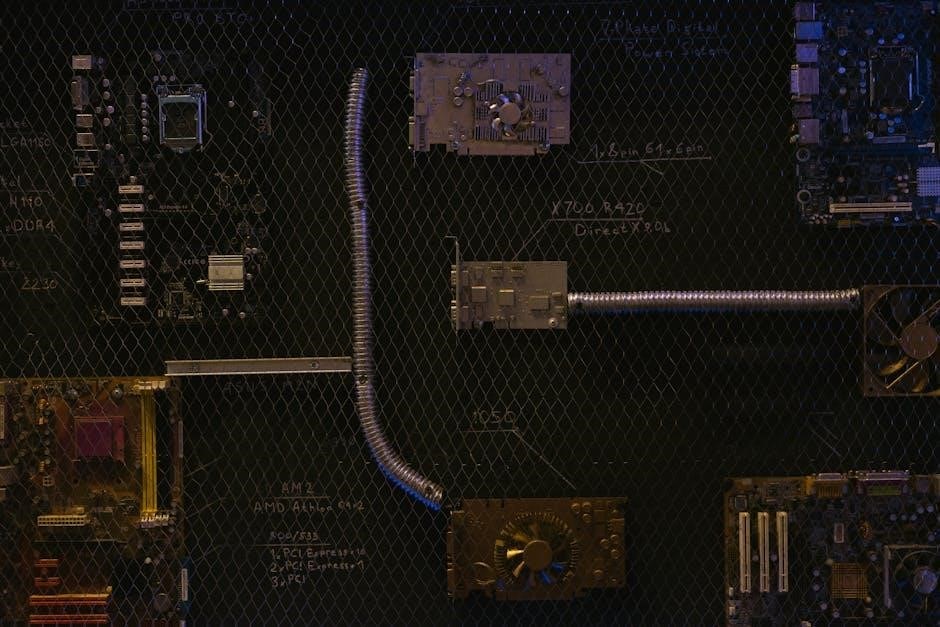
The John Deere L120 wiring diagram uses standardized symbols to represent electrical components, such as circles for fuses, lines for wires, and rectangles for relays or sensors. Each symbol corresponds to a specific part of the tractor’s electrical system, ensuring clarity and ease of understanding. The diagram also includes color-coded wires to differentiate between power, ground, and signal connections. A legend or key is often provided to decipher the symbols, making it easier for users to identify and trace components, which is essential for troubleshooting and repairs.
How to Read the Wiring Diagram Effectively
To effectively read the John Deere L120 wiring diagram, start by identifying the legend or key, which explains the symbols used. Locate the main components, such as the battery, fuse box, and ignition switch, as they are central to the electrical system. Trace wires by their colors and connections, ensuring you follow the flow of power and ground paths. Focus on specific circuits or systems, like the headlights or PTO, to avoid confusion. Use a multimeter to verify live wires and connections, and always disconnect the battery before starting repairs for safety.
Troubleshooting Electrical Issues with the Wiring Diagram
Use the John Deere L120 wiring diagram to trace electrical issues, identify blown fuses, and locate faulty connections or components. This guide helps pinpoint problems efficiently, ensuring quick repairs.
Locating Fuses and Fuse Boxes
The John Deere L120 wiring diagram helps identify the locations of fuses and fuse boxes, typically found under the hood or near the battery. Consult the diagram to pinpoint these components, ensuring safe and efficient troubleshooting. Open the fuse box carefully, referencing the diagram to match symbols with physical locations. Check each fuse visually or with a multimeter for blown conditions. This step is crucial for diagnosing electrical failures and restoring functionality to your lawn tractor. Always refer to the wiring diagram or owner’s manual for accurate fuse box locations.
Identifying Common Electrical Problems
The John Deere L120 wiring diagram aids in identifying common electrical issues such as blown fuses, faulty connections, and corroded terminals. Blown fuses often result from overloaded circuits, while loose or corroded connections can disrupt power flow; Malfunctioning sensors and relays are also frequent issues, causing systems like headlights or PTO to fail. Use the diagram to trace circuits and pinpoint problematic areas. Regular inspection of wiring and connectors can prevent many of these issues. Always consult the wiring diagram for accurate diagnostics and repairs.
Using a Multimeter for Diagnostic Checks
A multimeter is an essential tool for diagnosing electrical issues in the John Deere L120. Use it to measure voltage, current, and resistance in circuits. Set the multimeter to DC voltage to test power sources and connections. Check for continuity in wires to identify breaks or short circuits. Measure resistance to detect faulty components like sensors or relays. Always refer to the wiring diagram to locate test points and understand circuit paths. This ensures accurate readings and helps isolate the root cause of electrical problems efficiently.

Common Electrical Issues in the John Deere L120
Common electrical issues include blown fuses, tripped circuit breakers, and faulty wire connections. These problems often result from overloads, corrosion, or damaged components, requiring careful diagnosis.
Blown Fuses and Tripped Circuit Breakers
Blown fuses and tripped circuit breakers are common electrical issues in the John Deere L120. These problems often occur due to overloaded circuits, short circuits, or faulty components. The wiring diagram helps identify fuse locations and associated circuits. To resolve, disconnect the battery, replace the blown fuse, or reset the breaker. Always test the system after repairs to ensure proper functionality. Regular inspection of wiring and connections can prevent future occurrences. Use the diagram to trace and verify circuit integrity for safe and effective troubleshooting.
Faulty Wire Connections and Corrosion
Faulty wire connections and corrosion are common issues in the John Deere L120 electrical system. Over time, moisture and wear can degrade wires and connectors, causing poor connections and system malfunctions. Symptoms include intermittent power loss, dimming lights, or non-responsive controls. Inspecting the wiring diagram helps identify affected circuits. Clean corroded terminals with a wire brush and apply a protective coating to prevent further damage. Regular maintenance and inspection of wire connections can prevent such issues, ensuring reliable tractor performance and extending the lifespan of electrical components.
Malfunctioning Sensors and Relays
Malfunctioning sensors and relays are common electrical issues in the John Deere L120. Sensors monitor critical systems like engine temperature and battery voltage, while relays control power distribution. Faulty sensors can cause inaccurate readings or system shutdowns, while failed relays may prevent components like lights or the PTO from functioning. Consulting the wiring diagram helps identify sensor and relay locations, allowing for precise troubleshooting. Common symptoms include error codes, erratic behavior, or complete system failures. Testing with a multimeter and inspecting connections can often resolve these issues, ensuring reliable tractor operation.

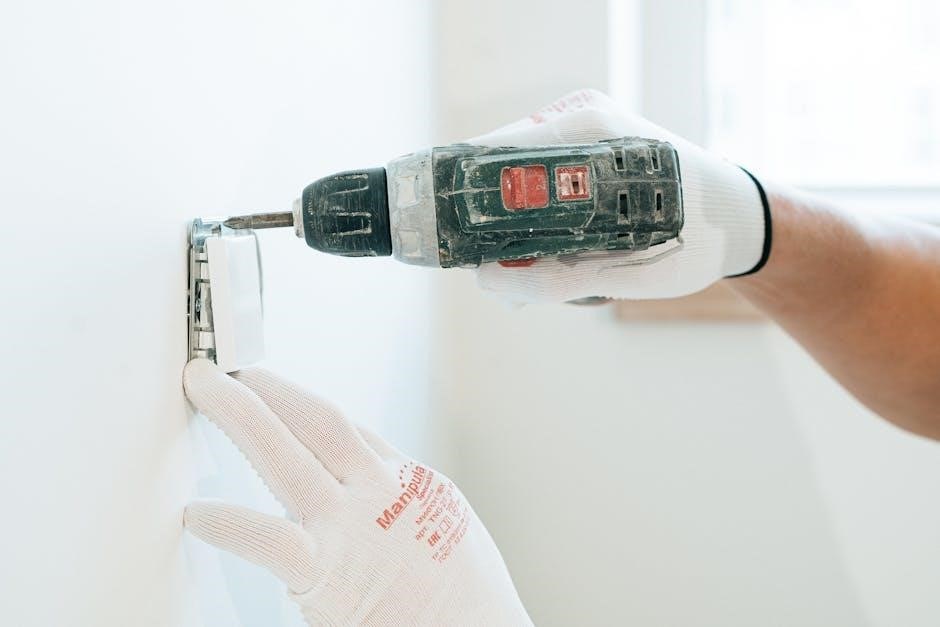
Safety Precautions When Working with Electrical Systems
Ensuring your safety when working with electrical systems is crucial. Always disconnect the battery to prevent accidental starts and use a multimeter for diagnostic checks. Wear protective gear like gloves and safety glasses to avoid injuries.
Proper Tools and Protective Gear
When working with electrical systems, use a multimeter for accurate readings and insulated tools to prevent shocks. Protective gear like gloves and safety glasses is essential. A well-lit workspace and a set of basic tools, such as wire strippers and screwdrivers, will ensure efficiency. Always refer to the John Deere L120 wiring diagram PDF for specific instructions on handling components safely. Proper equipment helps minimize risks and ensures successful repairs.
Disconnecting the Battery Before Repairs
Always disconnect the battery before starting any electrical repairs on your John Deere L120. Locate the negative terminal, usually marked with a minus sign, and remove the connector. This step prevents accidental starts and electrical shocks. Refer to the wiring diagram PDF for specific battery location and disconnection procedures. Ensure the tractor is in neutral gear and apply the parking brake for added safety. Disconnecting the battery is a crucial first step in any repair to protect both you and your equipment.

Maintenance Tips to Prevent Electrical Failures
Regularly inspect wiring and connectors for damage or corrosion. Clean terminals and ensure all connections are secure. Refer to the wiring diagram PDF for guidance.
Regular Inspection of Wiring and Connectors
Regular inspection of the wiring and connectors is crucial to prevent electrical failures. Check for signs of wear, fraying, or corrosion on wires and connections. Use the wiring diagram PDF to locate and identify key components. Ensure all connectors are clean and securely fastened. Inspect fuses and circuit breakers for damage or tripping issues. Addressing these problems early can prevent costly repairs and ensure your tractor operates safely and efficiently. Schedule inspections before each mowing season or after prolonged storage.
Cleaning Corrosion from Terminals
Cleaning corrosion from terminals is essential for maintaining proper electrical connections. Disconnect the battery and use a wire brush or sandpaper to gently remove rust and corrosion from terminals and connectors. Apply a protective coating or dielectric grease to prevent future corrosion. Regular cleaning ensures reliable electrical performance and extends the lifespan of your tractor’s wiring system. Refer to the wiring diagram PDF for locating key terminals and connectors, ensuring all areas are thoroughly inspected and maintained.

Downloading and Accessing the John Deere L120 Wiring Diagram PDF
Access the John Deere L120 wiring diagram PDF via official John Deere websites or free online manuals, ensuring a reliable guide for electrical system reference.
Official Sources for the Wiring Diagram
Official sources like the John Deere website and authorized dealers offer authentic wiring diagrams for the L120 model. These documents ensure accuracy and reliability for repairs. Additionally, purchasing repair manuals from trusted retailers guarantees access to detailed schematics. Always verify the authenticity of the source to avoid incorrect or incomplete information, ensuring safe and effective troubleshooting of your lawn tractor’s electrical system. This approach maintains the integrity of your equipment and guarantees compliance with manufacturer standards.
Free Resources and Manuals Available Online
Various online platforms offer free wiring diagrams and repair manuals for the John Deere L120. Websites like forums, DIY communities, and PDF repositories provide accessible resources. These documents often include detailed electrical schematics and troubleshooting guides. While free, ensure the source is reliable to avoid misinformation. Using these resources can save costs, but always cross-check with official materials for accuracy. This approach helps DIY enthusiasts maintain their tractor efficiently without unnecessary expenses.
The John Deere L120 wiring diagram is an essential resource for successful DIY repairs and maintenance. It ensures optimal tractor performance and longevity when used alongside proper safety measures.
Final Tips for Successful DIY Repairs
Always use a multimeter to verify wire connectivity and voltage. Regularly inspect wires and connections for corrosion or damage. Clean terminals and ensure proper connections to avoid electrical failures. Reference the John Deere L120 wiring diagram PDF for accurate repairs. Keep safety gear handy and disconnect the battery before starting work. By following these steps, you’ll ensure efficient and safe DIY repairs, maintaining your tractor’s performance and longevity.